Sandwich different sweet fillings between walking buttermilk waffles to make them portable and a great grab and go breakfast. They make a great make-ahead weekday breakfast that you can freeze and warm in minutes.
By sandwiching your favorite filling between waffles you make what we call Walking Buttermilk Waffles with Nutella or jelly, the perfect grab and go breakfast. I borrowed the name “walking” from the Walking Taco idea that you see all over the place. They have a nice tang from the buttermilk and a sweet taste from the filling of either Nutella and bananas or your favorite jelly.
How To Make Buttermilk Waffles Into Walking Waffles
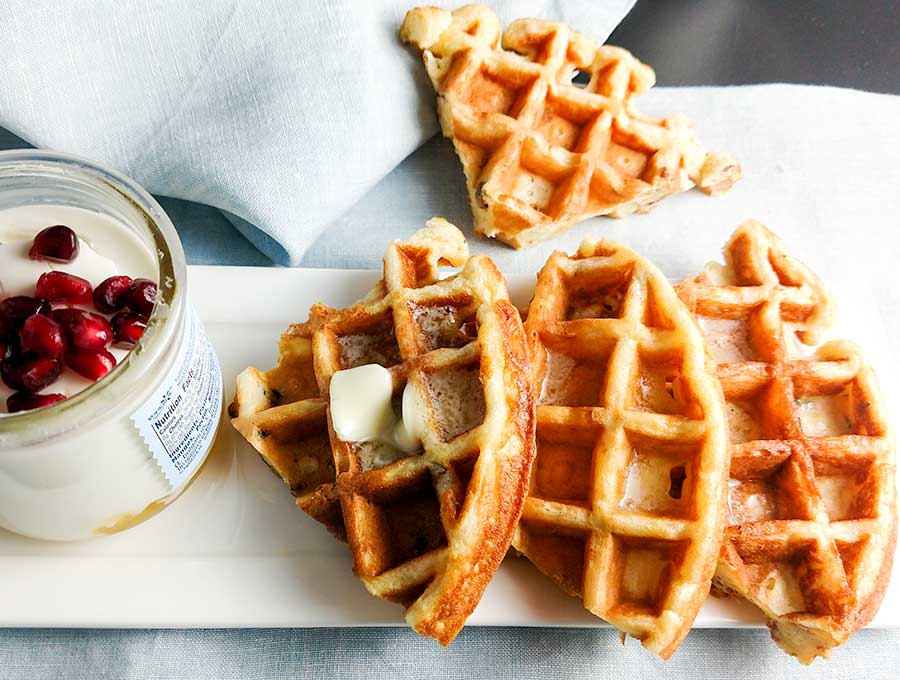
Serve waffles on a plate with butter and syrup and a side of yogurt with fruit
Buttermilk gives waffles that extra tang that you think of from a country diner. Typically waffle recipes call for whipping egg whites and setting up with yeast, those of you that read my posts regularly know that I’m all about making recipes easy so we’ve ditched those steps. These waffles are still delicious but only take a few minutes to put together. There is time involved because your lil ole waffle iron can only make one waffle at a time.
When I serve waffles it’s more of a round robin event. Meaning I call the kids in as the waffles are finishing, so the meal tends to be more piece meal. You can also put the cooked waffles on a baking tray and keep warm in a 200 degree oven covered with foil or even better with a clean dish towel. The dish towel keeps condensation from forming and making the waffles soggy.
Waffles are perfect for freezing. Make as many waffles as you have time for, cool and freeze them like I have lower in this post.
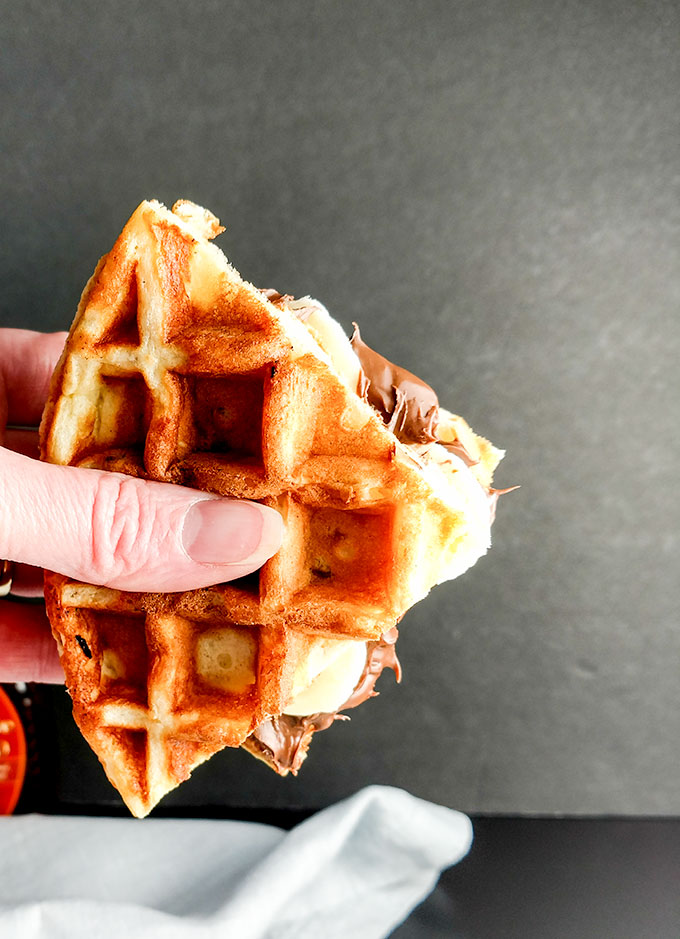
The recipe is my regular one that I have used for years, what makes them walking buttermilk waffles is that I cut them into fourths, spread with a yummy filling and top with another waffle, making a sandwich. These are great to eat while walking to work, school or the gym and easy to hold if driving. These 
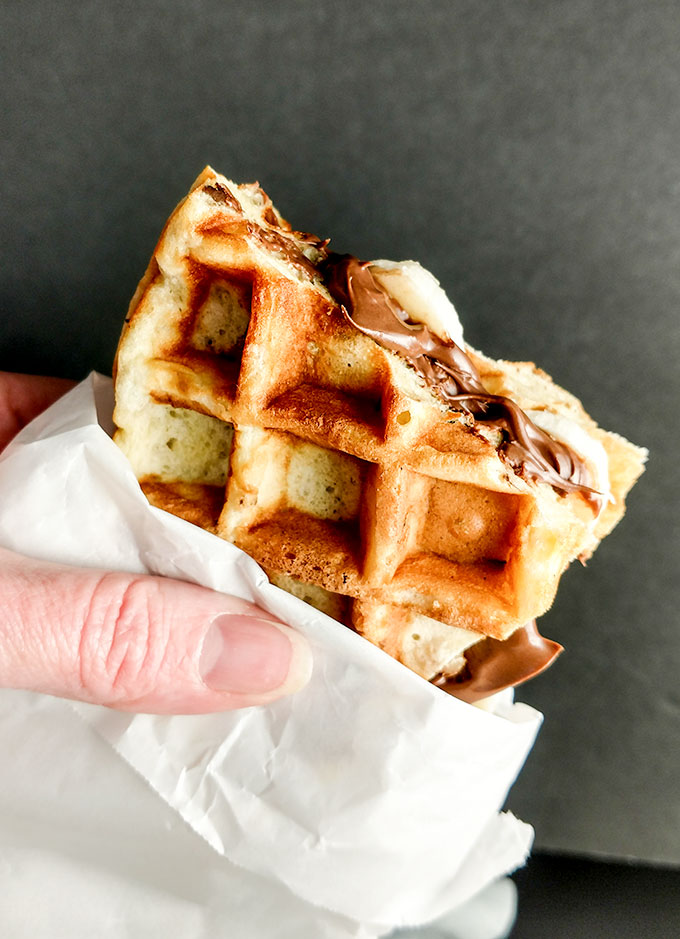
These little paper bags make a great way to carry any food that drips fillings or has crumbs
If you don’t have the small paper bags then wrap the bottom half of the walking buttermilk waffle with a paper towel or foil that you can unwrap as you eat.
Tips Making Walking Buttermilk Waffles
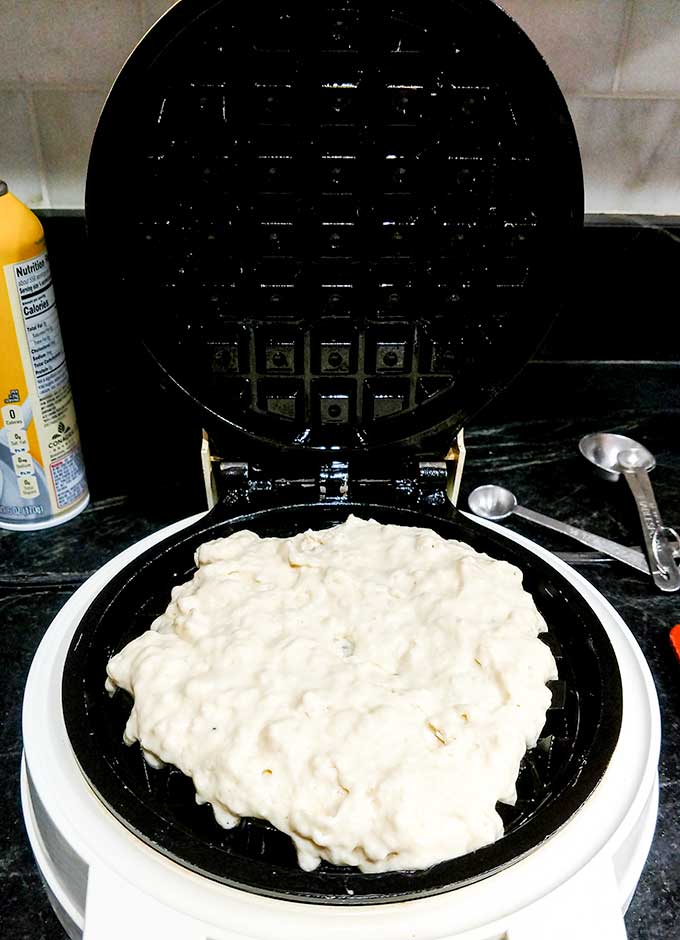
-Turn on your waffle iron before you start making the batter, it takes several minutes to heat up.
-The batter is very thick, don’t expect a thin pancake batter that’s runny
-Only fill about 3/4 full so that the batter doesn’t squeeze out and over the sides, it just makes a mess.
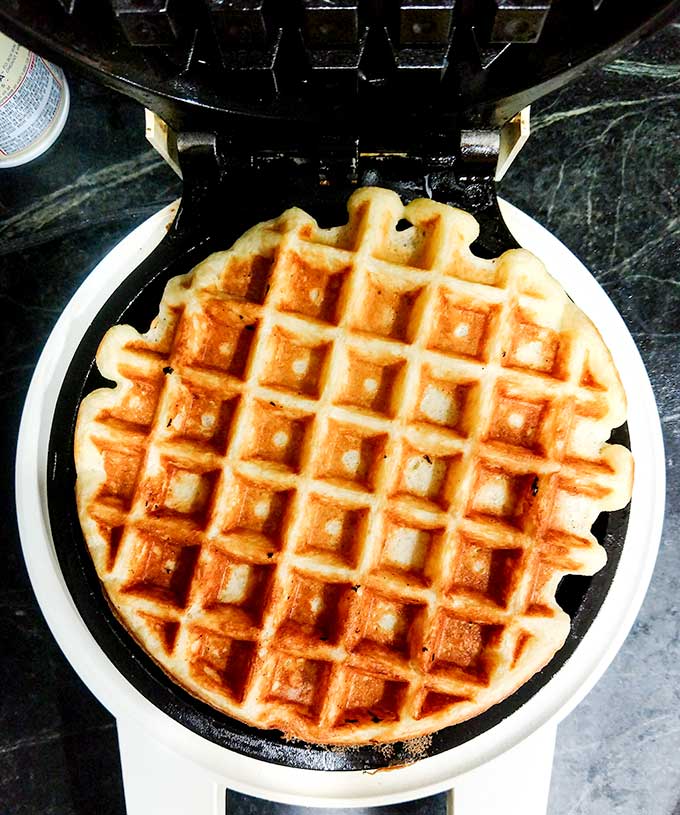
-spray both the top and bottom grid to keep the waffles from sticking. I don’t use non-stick spray often but it really makes a difference here. I’ve tried rubbing melted butter and also canola oil on the grids but it just doesn’t work as well as the non-stick spray because it’s hard to get into the deep grooves. Even with a non-stick waffle iron they typically need the addition of a non-stick spray.
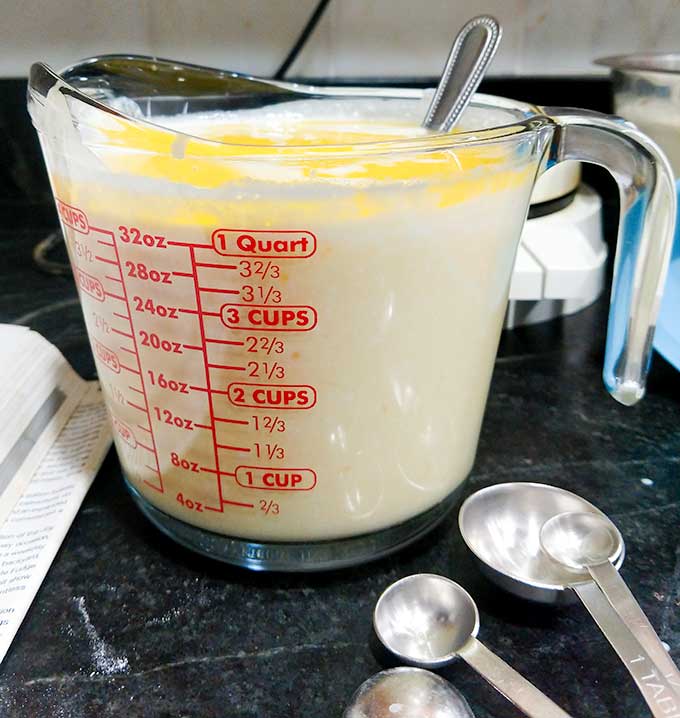
-When measuring the wet ingredients use a large measuring cup so that you have one less bowl to clean. Add the buttermilk first, if it’s not at room temperature then microwave for 30 seconds or so. Then add the cooled melted butter and last the egg. Whip with a fork.
-When starting the recipe first warm the waffle iron to give it time to heat up, then melt the butter next. This gives the butter time to cool down before adding to the buttermilk. If the milk is too cold and/or the butter too warm then you will end up with a lumpy butter pieces that congeal when added to the buttermilk. You can still use the batter but you get a better texture and better blended batter if you can add milk and butter at the same temperature.
What Filling Is Best For Walking Buttermilk Waffles
We’ve suggested the classic Nutella and banana mix or using your favorite jelly. If using jelly be careful not to over fill the waffle or you’ll have jelly squeezing out the bottom as you eat. The good thing is that the deep crevices from a Belgian waffle holds most of that jelly in. Thus my suggestion for the paper bags.
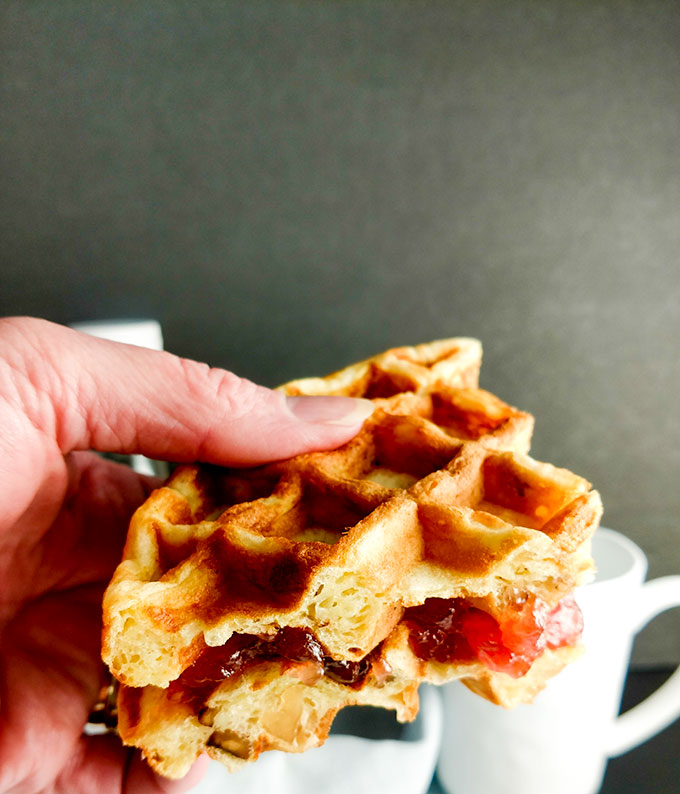
The Nutella is fairly thick and doesn’t squirt out as easily as the jelly.
How To Freeze Walking Buttermilk Waffles
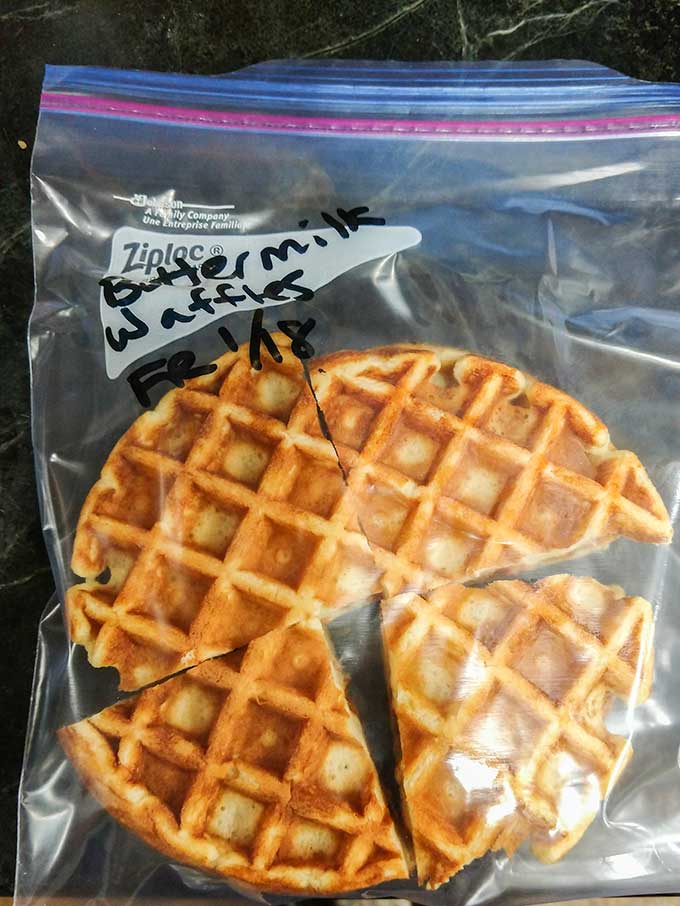
You can freeze the buttermilk waffles alone or filled, both ways make a great make-ahead breakfast. Lay the cooked, cut waffles on a baking tray for at least 2 hours, you can do this with regular waffles or filled walking waffles. Then place in a freezer safe bag or container labeled with ingredients and date. I keep a permanent marker in my kitchen and it’s one of the most used items. When placing waffles in the freezer bag make sure to squeeze out as much air as possible to keep ice crystals from forming on the waffles. Use within 3 months for best texture but you can keep them frozen for up to 6 months and they will still be good.
I cut the cooked waffles into toaster size before freezing. We grab the frozen waffles and pop in the toaster. Boom, you now have a breakfast that’s ready in minutes.
Other than the using the toaster to reheat, wrap frozen walking buttermilk waffles in a paper towel and reheat in 30 second increments. The filling will be very hot so you don’t want to overdue the heating process. You can also place frozen waffle on a baking tray in a 325 degree oven and heat for 15 minutes. Or remove from freezer and place in refrigerator overnight. You can eat the filled waffle at room temperature or reheat wrapped in a paper towel in the microwave for about 20 seconds.
If you will be eating the walking buttermilk waffles on the go then wrap a paper towel, parchment paper or foil around the bottom so that the filling doesn’t drip on you. Or use the paper bags like we show earlier in the post.
Watch for more Walking Buttermilk Waffle concoctions. My family loves these and I know there are a ton more ideas to come from this recipe and idea.
Walking Buttermilk Waffles With Nutella or Jelly
Make your delicious buttermilk waffles an on the go breakfast with yummy Nutlla or jelly by making them easy to eat while walking.
Ingredients
Waffles
- 1 Cup All-Purpose Flour
- 1 Tablespoon Sugar
- 1/2 teaspoon Table Salt
- 1/4 teaspoon Baking Soda
- 3/4 Cup Buttermilk room temperature
- 1 Large Egg
- 2 Tablespoons Unsalted Butter melted and cooled
Filling
- 1/2 Cup Nutella
- 1/2 Small Banana
- 1/2 Cup Jelly
Instructions
-
Heat waffle iron.
-
Melt and cool butter. Bring buttermilk to room temperature. If I’m in a hurry I’ll microwave the buttermilk for 30 seconds to a minute to bring it to room temperature so that the warm butter won't congeal. Whip with a fork.
-
Mix dry ingredients together.
-
Add the wet ingredients to the dry slowly, mixing with a rubber spatula or wooden spoon. If you are too aggressive then the waffles will be tough. Your batter will be much thicker than pancake batter, and that’s a good thing.
-
Pour the appropriate amount of waffle batter onto your greased (or sprayed) waffle iron. Be careful not to overload the iron or you’ll have mess on your hands.
-
To make walking buttermilk waffles you’ll want to cut the waffles into hand held sizes. For most waffle irons that means cutting them in quarters, spreading on your filling and topping with another waffle piece to make a sandwich.
Enjoy!
Recipe Notes
If it’s too cold and the butter is too hot, then the butter starts to coagulate (get lumpy). It doesn’t make the waffles inedible, but you will have lumps of butter.
Go ahead and triple the recipe. Freezing walking waffles is a great idea for a quick grab and go breakfast. Fill cooked waffles with fillings, freeze on a baking tray for at least 2 hours. Then place in a freezer bag labeled with ingredients and date. Keep frozen for up to 6 months. Reheat in microwave by wrapping in a paper towel for 30 second increments or in a 325-degree oven for 15 minutes. Be careful, the filling will be hot!
Made these for my grandchildren when they visited. They’ve requested that my daughter make the walking waffles for them at home. Thanks for all of the great ideas.
Walking tacos have changed a morning routine that is now easy. Thanks.
Ever since I tried jelly instead of syrup, there’s no going back. Warm the jelly a bit to make it even better.
Warm jelly is so yummy. Thanks
I need to go shopping to buy some buttermilk so that I can try this recipe asap.
I have 2 types of waffle irons. I have a round one similar to the one shown, but I also have one that makes 2 square waffles (perfect for sandwiches)