Christmas cookies taste delicious but also hold special memories for most of us. Mom’s Christmas cookies are classic and when I bite into the cookies they bring back great holiday memories.
Every time we visit Mom at holidays she’ll have these crisp cookies decorated with colorful icing in the dozens. My three boys make these Christmas cookies disappear quickly.
Mom ships the cookies to the boys at college at their request. Mom’s Christmas cookies don’t always make the trip fully intact, but that doesn’t seem to bother my boys. Crumbs are just as good as full cookies. Crumbs are sometimes better because you can top yogurt or ice cream with the cookie crumbs.
How To Make Mom’s Christmas Cookies With Icing
I like using butter with these cookies which requires a mixer. If you don’t have a mixer, no fear, then see the bottom of the post titled Substitutes.
Cut the butter into small cubes and cream with the sugar and butter with a mixer on low-medium. Add egg and mix just a bit longer, about 30 seconds. If you double the cookie dough then add eggs one at a time.
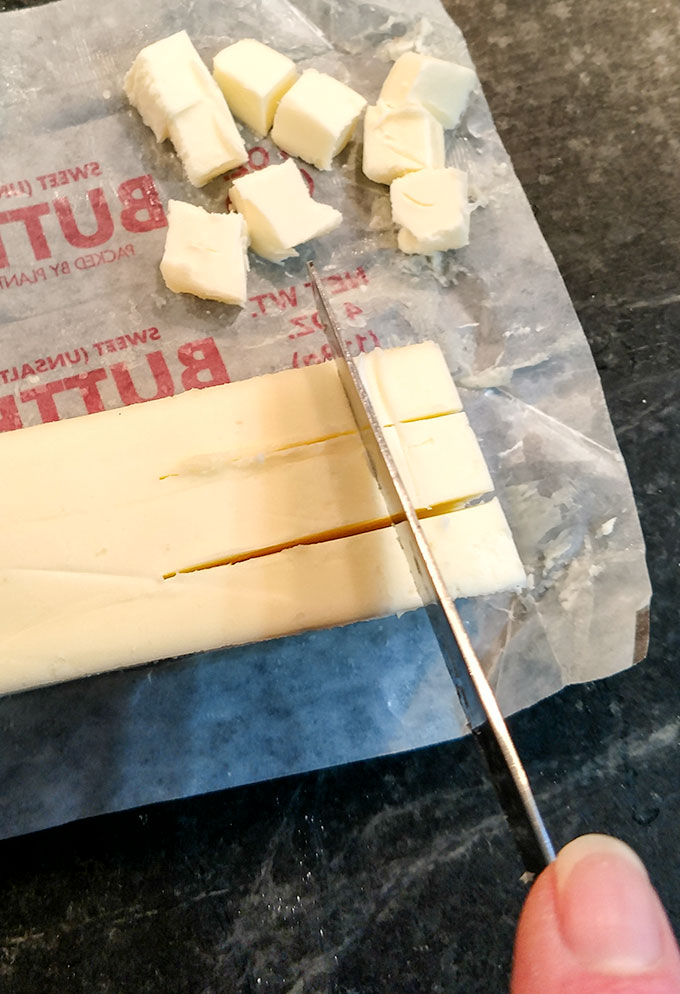
Cube butter by slicing through half of the stick with 2 long slices, flip 90 degrees and repeat. Then slice cross wise. Easiest way to get cubed butter
Mix dry ingredients together and then add to the creamed butter mixture with a wooden spoon or rubber spatula.
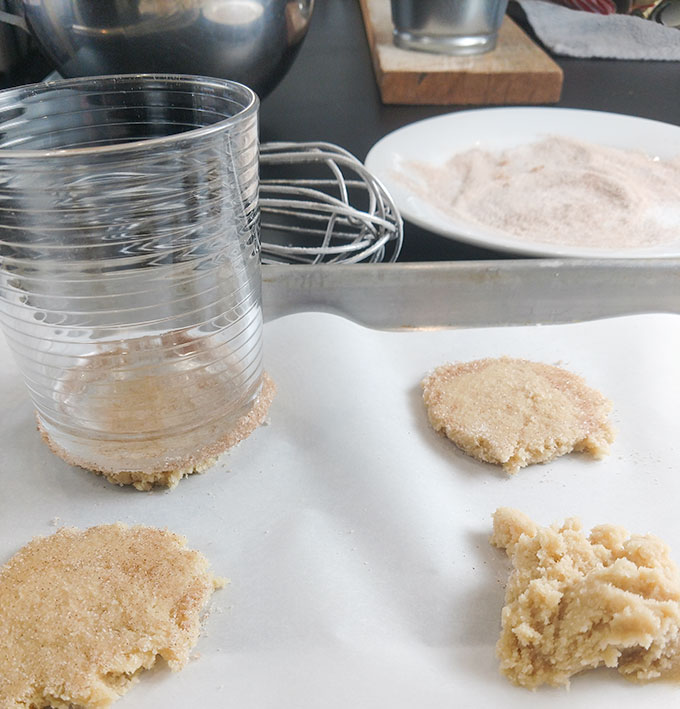
If decorating cookies then flatten the dough with a glass. If you are not going to decorate then you can skip this step
Line baking sheets with parchment paper or lightly spray or oil the baking tray. Drop 12 heaping tablespoons of dough on to the tray, spacing evenly, about 2 inches apart. If you are going to decorate the cookies, then take a flat bottomed glass dipped in cinnamon sugar and lightly press down on the cookies. If you will not be decorating then this step is unnecessary, it’s just to give you a flatter cookie that is ideal for icing and decorating.
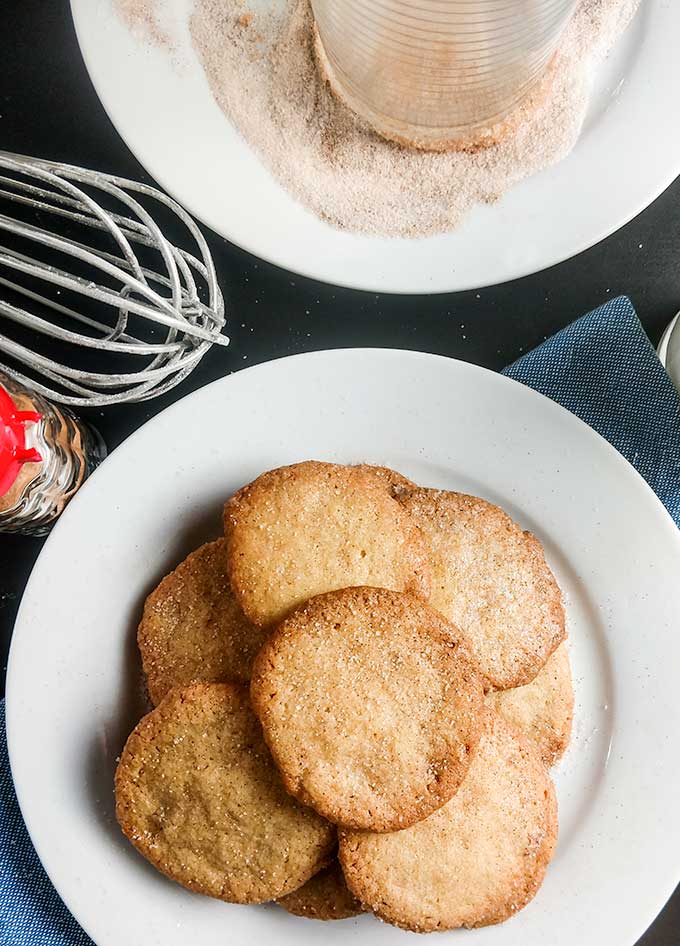
Undecorated cookies are great without icing and a lot less calories
Bake for exactly 12 minutes for a perfectly crisp cookie. Let sit on the baking tray for a few minutes, about 5, to set up. Then pull the parchment paper with the baked cookies off the tray and let continue cooling on the counter top.
Easy Christmas Cookie Icing
Mom’s Christmas cookies are great as is. Just enough sweetness without overpowering you. BUT, if you want to decorate and make these cookies sinfully delicious then make an easy Christmas cookie icing.
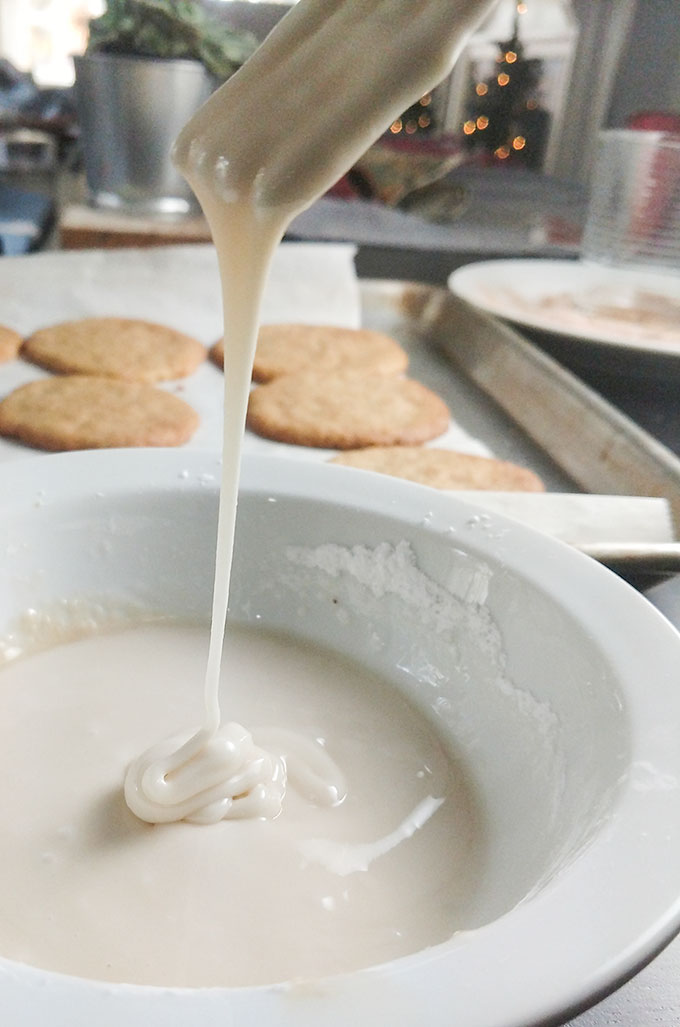
It’s important to get the consistency of the easy cookie icing just right
Make an easy Christmas cookie icing with powdered sugar, milk and vanilla. Vanilla is optional but adds the perfect taste. You want the cookie icing mixture to be runny when you drop from a fork for easy spreading, but a slow drizzle, not like pure liquid. If the icing is too thin for Mom’s Christmas cookies then it won’t cover well. If you are adding decorations you want a little thicker icing so that the decorations can be embedded in the cookie icing.
To make chocolate easy Christmas cookie icing add 2 Tablespoons of unsweetened cocoa.
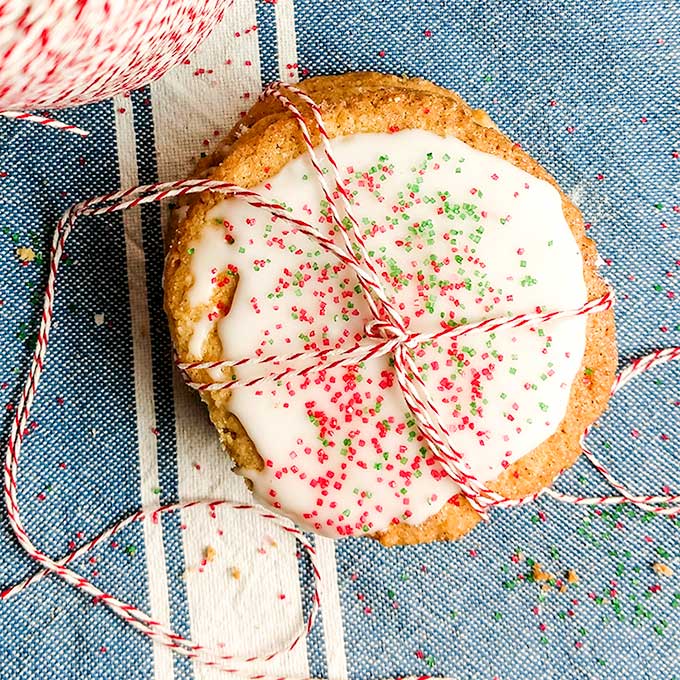
This easy Christmas cookie icing hardens after about 20 minutes, enough that you can stack the cookies without messing up your decorations.
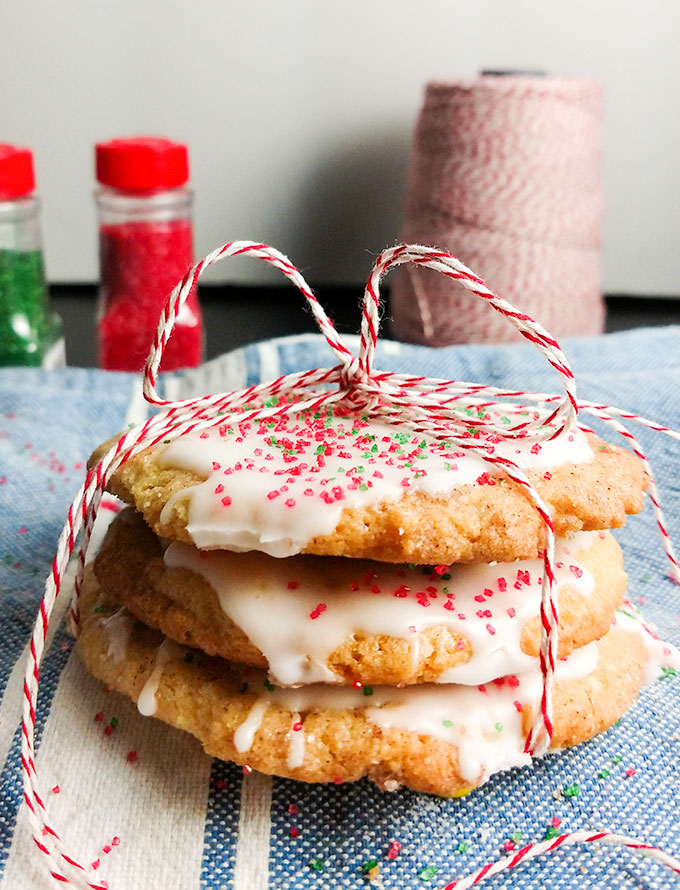
This easy powdered sugar icing hardens so that once dry, you can stack the cookies
Tips For Decorating Mom’s Christmas Cookies
Use an offset spatula or flexible pie server, I use a disposable pie or cake server that I kept from a grocery store bakery cake, it works great. Dip the end of the cake server or offset spatula in the icing and mound in the middle of the cookie, then take the smooth side of the server and spread the icing while turning the cookie.
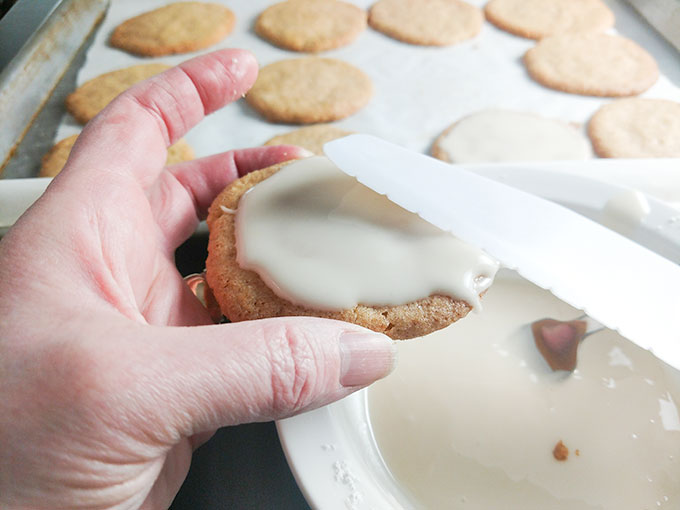
If decorating with sprinkles then sprinkle away, you want the icing to still be wet so that the sprinkles stick.
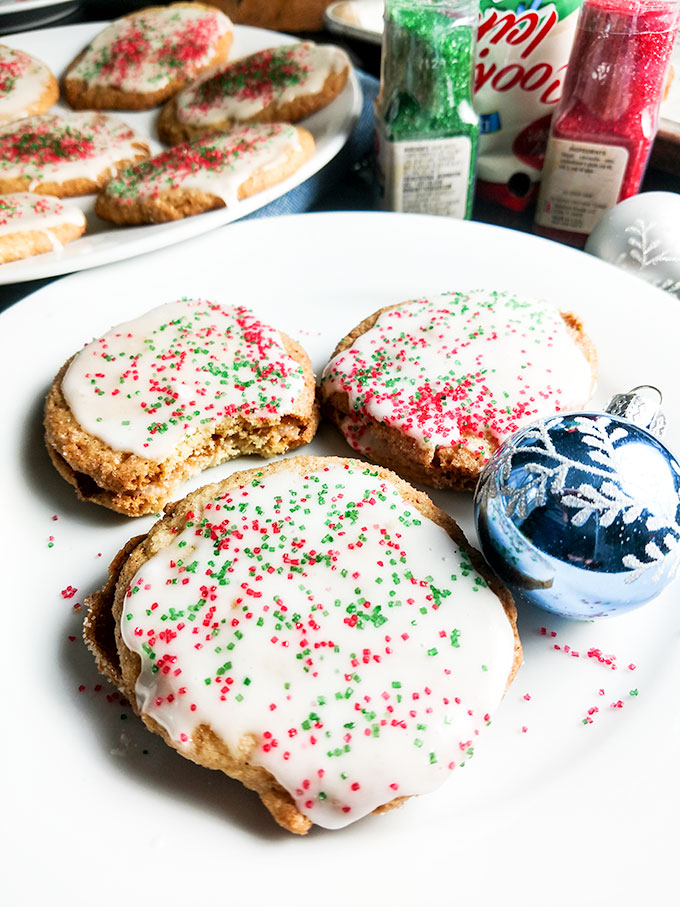
The cookie you see with a bite out of it is actually two cookies with icing in the middle and the top. Double indulgence!
If you will be decorating further with candy or gel colors then you may want to let the iced Christmas cookies sit for a few minutes until the icing starts to set. You can see that I used a gel frosting for the Christmas trees and Christmas light stings on the cookies. Then I added mini-M&Ms on their side to look like lights or ornaments. I’ve seen this M&M idea in several places but first saw it on Dessert For Two. She did the light string idea. If using M&M’s or other candy, you’ll want the icing for Mom’s Christmas cookies to be thick enough and set up enough that the M&M’s will stand on their side. I put the candy in a little too soon and the M&M’s started to tilt to the side. Just let the cookies set up a few more minutes and then straighten the candy, works like a charm!

I used Betty Crocker’s Cookie Icing for the Christmas tree decoration and the string for the lights. If you use this big of a cookie icing bag just snip the tiniest bit off the end of the tube so that you keep it a thin line. If you read the directions it will tell you to cut too much off for fine detail decorating. This bag of icing is a LOT for Mom’s Christmas cookies. I think it’s meant for decorating the whole cookie rather than fine detail, so instead of my homemade easy Christmas cookie icing.
I also bought some Betty Crocker Easy Writer Pens for the star on top of the cookie. They were easier to handle than the icing tube but had draw backs as well. I would only buy these Easy Writers for fine detail, not for the whole decoration. And if you only use it for a star then find star shaped candy or use a yellow mini M&M like I did on one of the cookies. The Easy Writers need to be used in short strokes, like a paint brush so you don’t get nice smooth lines.
If I could have found good old-fashioned food coloring I would have made more of the Easy Cookie Icing and colored it myself. Then add to a plastic freezer bag, snip a tiny bit off of the bottom corner and decorated that way. It would have been a ton less expensive as well.
No Mixer Required Christmas Cookie Recipe
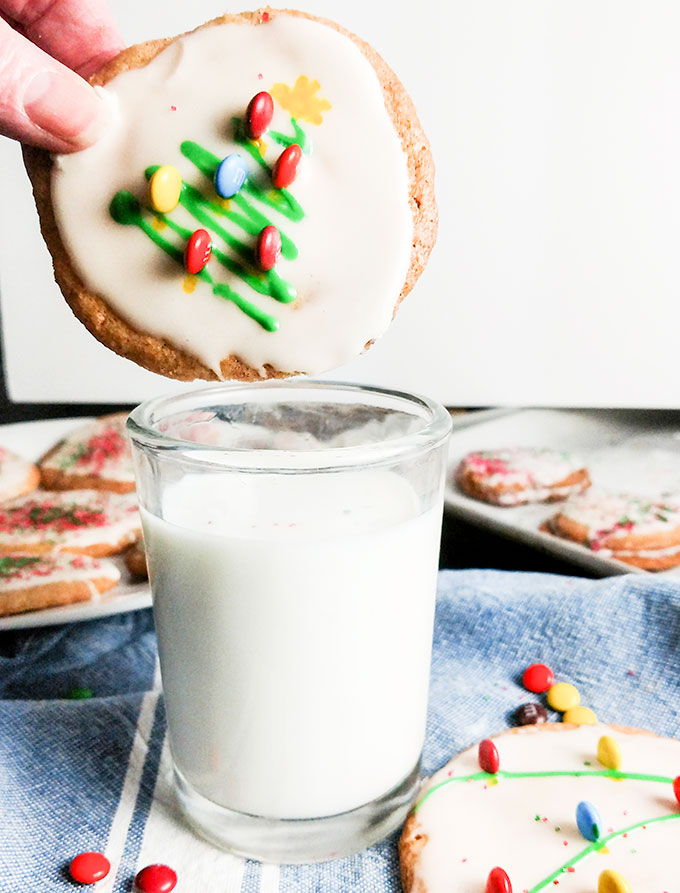
Grab a glass of milk and dunk away!
I’ll admit, I love using butter as the fat in Mom’s Christmas cookies for the flavor. Using a mixer makes using butter easy. But let’s face it, not everyone has a hand held or stand mixer. You can substitute the butter with shortening or a mild oil like canola, just substitute equal amounts to the butter. The shortening is easy to mix in with the sugar and will give you a crispy cookie.
And don’t call the shortening police, it’s not as bad as people say. At least not for the occasional cookie, I wouldn’t go cooking with shortening every day. You’d be surprised how often you are eating shortening from baked goods because, well, that’s what makes the baked goods hold up so well, especially frosting for cupcakes and cakes.
You can use oil in place of the butter for Mom’s Christmas cookies for a nostalgic taste, it’s very similar to using margarine. I say nostalgic because when I was growing up margarine was often substituted for butter. And quite frankly, mild vegetable oil is actually what Mom uses! And my family all LOVES these cookies…..thank you Mom.

Mom's Christmas Cookies With Icing
This is the classic, thin, crisp sugar cookie of your youth. Eat plain or add easy cookie icing to decorate in all kinds of fun ways
Ingredients
Cookie Dough
- 2 Cups All-purpose flour
- 1 teaspoon Baking powder
- 1/4 teaspoon Baking soda
- 1/2 teaspoon Table salt
- 1 Cup Unsalted butter 2 sticks
- 1/2 Cup White sugar
- 1/2 Cup Brown sugar
- 1 Large egg
Easy Cookie Icing
- 1 Cup Powdered sugar
- 1 Tablespoon Milk
- 1/4 teaspoon Vanilla extract Optional
Instructions
Cookie Dough
-
Preheat oven to 375 degrees. Line baking sheets with parchment paper or lightly spray or oil.
-
Mix flour, baking powder, baking soda and salt with a fork.
-
Cream butter and sugar with a mixer on medium-low speed, about 4, until yellow and creamy, about 2-3 minutes. Don’t over mix. Then add egg and mix for an additional 30 seconds.
-
Remove from mixer to stir, or use lowest setting, and mix in the flour until completely incorporated, a minute tops.
-
Drop cookies by a heaping tablespoon onto the lined baking trays about 2 inches apart, you’ll have room for 12 cookies per tray. If you will not be icing the cookies you can skip the next step.
-
If you will be decorating the cookies, then you will want to flatten the dough by pressing down with a glass. Fill a plate with cinnamon sugar, grease or wet the bottom of a flat-bottomed glass. Dip glass into the sugar plate and then lightly press down on the cookie dough. This step will give you a flatter cookie that is easier to decorate.
-
Pop in the oven for exactly 12 minutes, the cookies will just be beginning to brown and get crisp edges. Remove from oven and let set for about 5 minutes. Then pull the parchment paper off the baking trays and let the cookies cool on the parchment paper on your counter.
-
If you aren’t cooking all the trays at once then put the cookie trays in the refrigerator for 15 minutes or the freezer for 8 minutes or until ready to use. This will keep the cookies from spreading too much.
Easy Cookie Icing and Decorating
-
For the easy cookie icing mix 1 cup powdered sugar with 1-3 tablespoons of milk. Start with 1 tablespoon and thoroughly mix. Your first instinct will be to keep adding milk, don’t do that until you are sure you have scooped to the bottom of the bowl and stirred all the milk into the sugar. Keep adding a small amount of milk until you get to a thick consistency that will drizzle off a fork. If you go too far and the icing is too thin, then add more powdered sugar.
-
Use an off-set spatula or a plastic pie / cake server. Dip the tip into the icing and put a nice pile of icing on a cookie. Immediately start spreading the icing as you turn the cookie to cover most of the cookie surface.
-
If using sprinkles add them right away to the wet icing so that the sprinkles stick. If using colored frosting, M&M’s or other candy then let the icing set a bit. This way you won’t mess up the base icing and the candy will hold its position better.
-
Now eat to your hearts content, it’s Christmas time after all!
Recipe Notes
If you don't have a mixer, then just substitute shortening or canola oil for the butter in equal volumes
No need to ice the cookies. If you leave them as is out of the oven they make a great everyday cookie to have around
Cookies will last covered at room temperature for 3 days
Freeze the cookies for up to 3 months, defrost on the counter
They’re SO cute! <3
Thanks, as you know I got the “string of lights” idea from you! I had a link to your site in the previous cookie post, I’ll add it to this one too. Merry Christmas!
These are wonderful—they disappeared soooo quickly. And they were easy to make.!
Thanks for the recipe.
Thanks, I have fond memories of my Mom making these and so glad that my kids love these cookies as much as I did!