Our homemade Peanut butter granola bar recipe is the perfect on the go breakfast, snack or lunch. These healthy snacks are finger food at its best. A great lunch idea for work or lunch box. Freeze so that you always have some granola bars on hand for an on the go snack or breakfast.
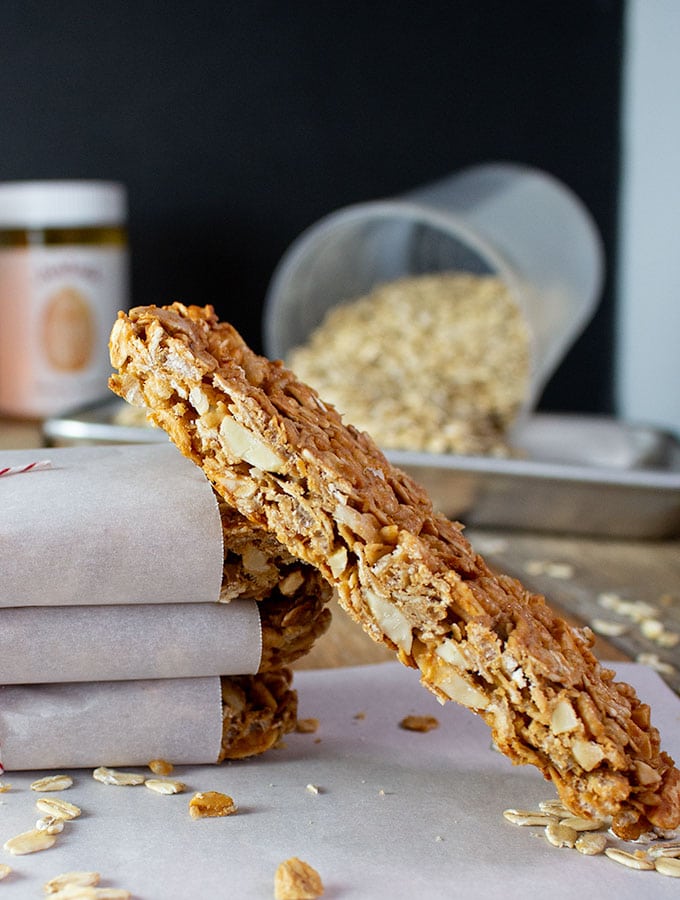
Our recipe is similar in taste to Nature Valley granola bars, but here you are in control of the ingredients. Play with the amount of ingredients until you get it just the way you want them. Want less sugar? Great, add less sugar. Want organic ingredients? Great, buy organic. Want gluten free granola bars? Use gluten free oats and gluten free crispy rice cereal. There are all kinds of variations.
What’s The Best Thing About Our Homemade Peanut Butter Granola Bar Recipe?
Nutritious and Filling – Nuts and peanut butter will keep you full. Large bars make a healthy breakfast or lunch choice. Mini bars make a healthy snack.
On The Go Snack – These peanut butter granola bars are made for grab and go snacks and meals. Keep them handy on the countertop or in the freezer. Great on the go snack, breakfast or lunch.
Portable – Snacks don’t get any more portable than finger food. Ideally, I like to wrap our homemade peanut butter granola bars in a parchment paper bag. The bag keeps the granola bar fresh, the best part is that it catches any stray crumbs from falling on your lap or shirt. Tie it with a colorful string to add a little fun to the packaging.
Easy and Quick To Make – In 45 minutes you’ll have these granola bars cooling off. Keep in mind, only about 15 minutes is hands on time for our homemade peanut butter granola bar recipe. It would take you longer to drive to the grocery store!
How To Make Our Homemade Peanut Butter Granola Bar Recipe
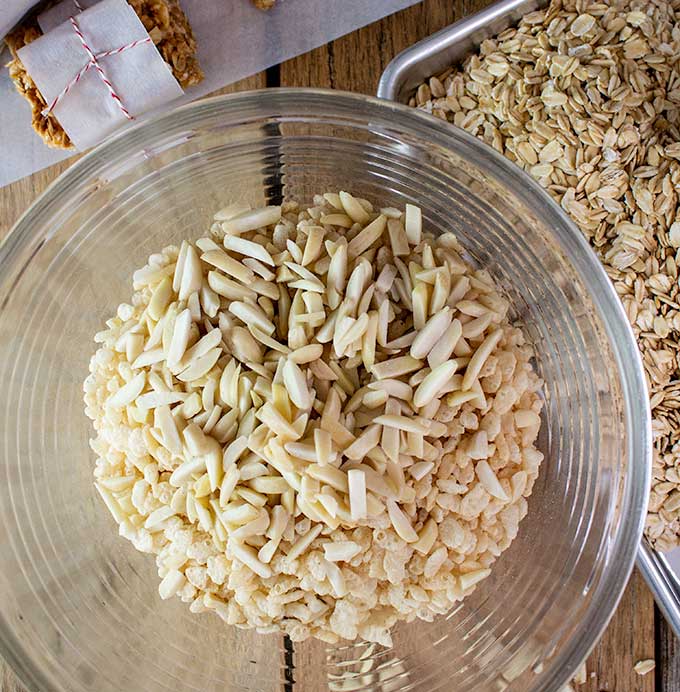
Dry ingredients include cereal, nuts and oats. If toasting, only bake the nuts and oats, not the cereal
It’s really just 3 simple steps. Mix your dry ingredients. Heat and mix your wet ingredients. Pour in pan. Press the granola with the back of a spoon to level. Then pull one side of the parchment paper handles over the granola, press with your hand to further compress the granola and level. Repeat with the other “handle”. Pull handles back out so they don’t cover the top of the granola when baking.
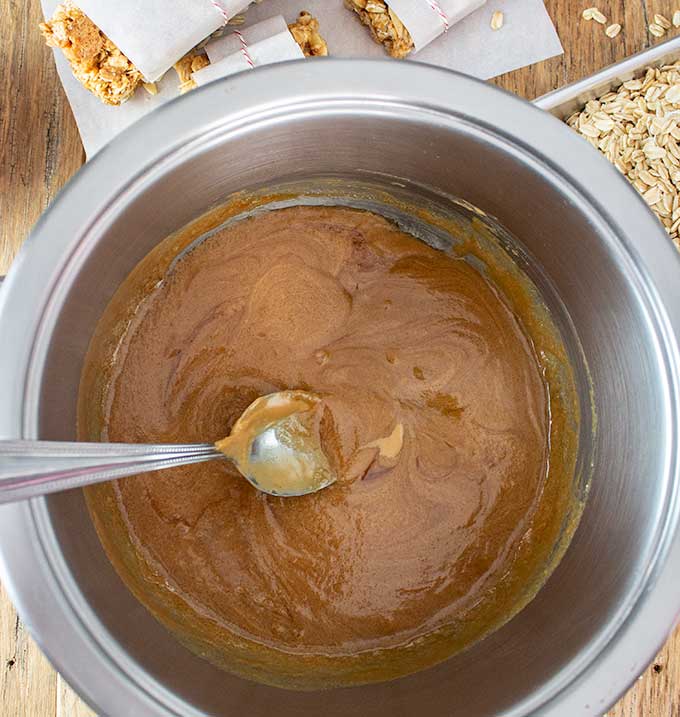
Wet ingredients melted in pan. Peanut butter, vanilla extract, brown sugar and salt
Our homemade peanut butter granola bar recipe calls for about 15 minutes hands on time but will take about an hour before they are ready to be eaten. After baking for 25 minutes, you need to let the granola cool in the pan before removing. If you take the granola out earlier you will probably break the bars…. or they will break when you cut them. If they crumble, just keep in an airtight bag or container and use as a topping for yogurt or ice cream.
Pull the peanut butter granola bars from the oven, set on a metal grid and go do something else for another 30 minutes or so until the pan is completely cool. Then use the parchment paper handles, pull from the pan to a cutting board and cut into any size bars that you’d like.
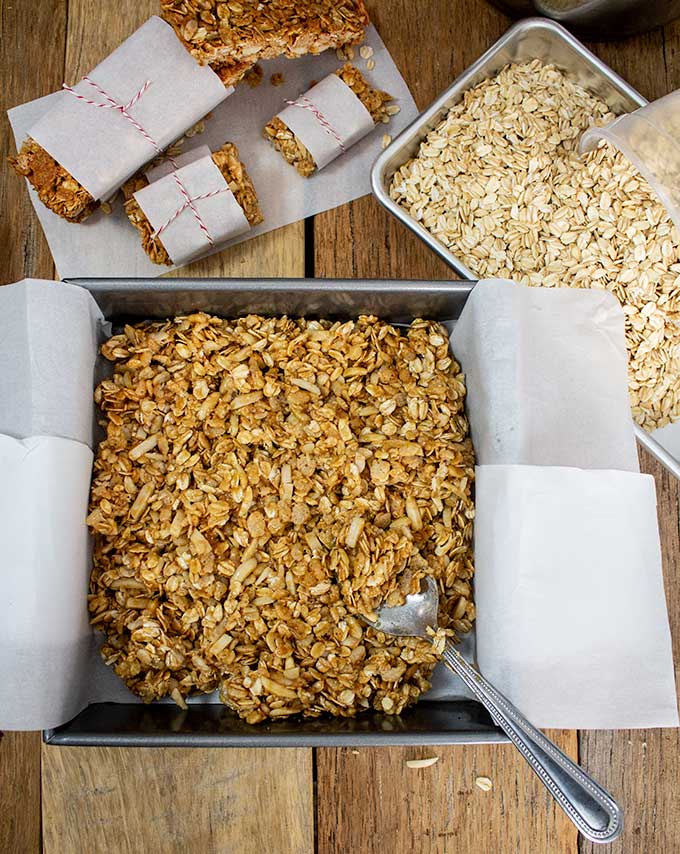
Press the granola into the pan with the back of a spoon. Then fold over the parchment paper handles and press the granola even more with your hand.
I like cutting them into smaller rectangles, about 1 1/2 inches X 2 ½ inches. These are portion control granola bars and make a better size snack than meal.
The typical granola bar size is about 2” X 4”, the size you’ll find in most manufactured bars.
No Bake Versus Baked Granola Bars
When I first started looking for a granola bar recipe, I was drawn to the “No Bake” recipes. But you know what, they are more work than the baked granola bars. “No bake bars” need to have a sticky ingredient like chopped dried fruit to act as a binding agent, the stickiest fruit like dates or prunes. If you’ve ever tried whizzing some dates through your food processor or blender you know what a mess it can make. And then it’s hard to incorporate all the ingredients without ending up with a clumpy mess.
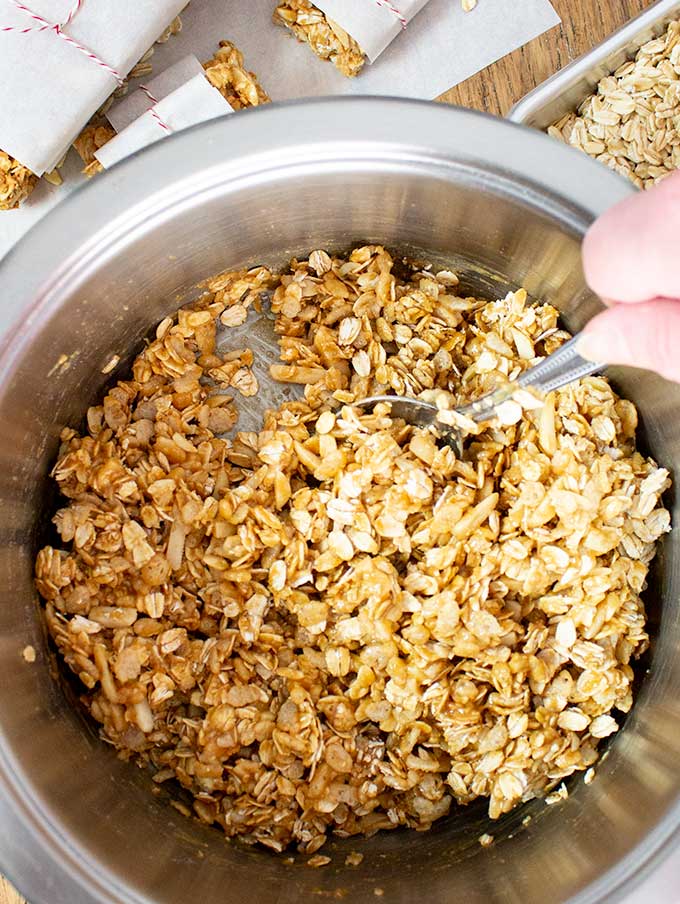
Using a “baked” recipe is easier to mix the granola ingredients and I think a lot less messy than making a “no bake” granola bar recipe
My vote is to melt the wet ingredients on your stove, mix with the dry ingredients and bake. Easy, fast and less cleanup than the no bake bars. Our homemade granola bar recipe also is not sticky to eat and holds together better. I’ll keep experimenting with “no bake granola bars” until I find the right mix.
How To Freeze Homemade Peanut Butter Granola Bars
Wrap each granola bar in plastic wrap, snack size resealable baggie or wax paper. Insert into a large gallon size labelled freezer bag. Freeze for up to 3 months.
How To Store Our Homemade Peanut Butter Granola Bar Recipe
You can store peanut butter granola bars for about 2 weeks in an air tight container on your countertop, keep in the fridge or freeze. See freezing instructions above.
Substitutions for Granola Bar Ingredients
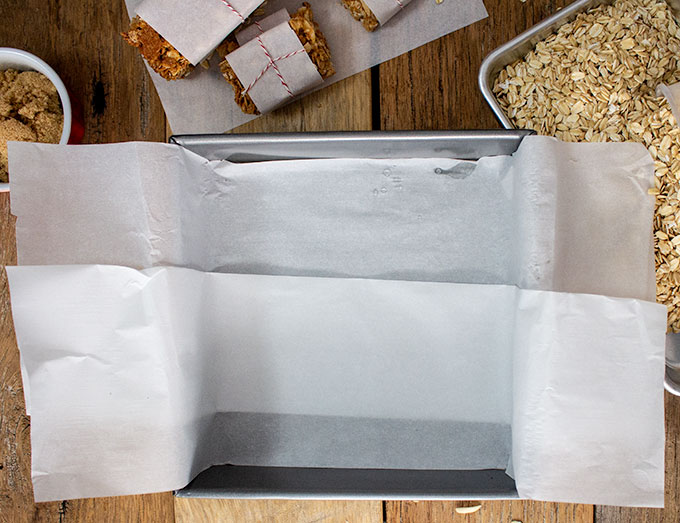
Parchment Paper – you can skip the parchment paper and oil the pan, but it is harder to get the granola bars out of the pan and they tend to crumble. If so, use the crumbled granola as a yogurt, oatmeal or ice cream topping.
Old Fashioned or Rolled Oats – you can use quick oats if you like. I prefer the texture of the rolled oats and they are less processed and more nutritious.
Crispy Rice Cereal – I used Kellogg’s Rice Krispies, but any store brand will due. You can use almost any cereal that you want. Keep in mind the larger the cereal pieces the harder it is for the bar to stick together.
Slivered Almonds – the additional nuts are optional. You can substitute with another nut or leave them out all together.
Honey – I’m going to experiment with maple syrup the next time I make these peanut butter granola bars, it should work but I haven’t tried it. Let me know if you try the maple syrup and how it turns out. I would imagine brown rice syrup would work as well.
Vanilla extract – Vanilla adds a nice nuance to our homemade peanut butter granola bar recipe but is an optional ingredient.
Peanut Butter – Any nut butter will do, use your favorite.
Peanut Butter Granola Bar Recipe
Peanut butter granola bar recipe lets you be in control of the ingredients and sugar. Play with the amount of ingredients until you get it just the way you want them. Freeze so that you always have some granola bars on hand for an on the go snack or breakfast.
Ingredients
Dry Ingredients
- 1 1/2 Cups Old-fashioned oats also known as rolled oats
- 1 Cup Crispy rice cereal like Rice Krispies
- 1/2 Cup Slivered almonds
Wet Ingredients
- 1/3 Cup Honey
- 1/2 Cup Peanut butter or your favorite nut butter
- 1/4 Cup Brown sugar
- 2 teaspoons Vanilla extract
- 1/4 teaspoon table salt
Instructions
-
Optional step: Pour the oats and almonds onto a baking tray in a single layer and toast at 350 degrees for about 15 minutes. This step gives a stronger, nuttier taste but is optional.
-
While you are toasting the dry ingredients, prep the pan and get all of the remaining ingredients together.
Line an 8 X 8 pan (or double the recipe and use a standard baking sheet) with parchment paper, leaving “handles” over the sides of the pan that make it easy to remove the granola bars after baking and cooling.
-
In a saucepan, place wet ingredients (honey, peanut butter, brown sugar, vanilla) and salt, stir over medium heat until the sugar has dissolved and the peanut butter is a smooth consistency, about 3-5 minutes. Remove from heat.
By this point you should start smelling the toasted nuts. Remove from the oven and add the toasted ingredients and cereal to the warm peanut butter mix. Stir until well incorporated.
Reduce the oven temperature to 325 degree.
-
Press granola mixture into parchment lined pan. Press with back of spoon to level. Then pull the parchment paper “handles” over the top of the bars and press more with your hands. This will level the granola bars as well as compact them so they will be less crumbly.
-
Bake for 25 minutes. Remove from oven and let completely cool in the pan. If you don’t let it cool the granola bars will break easier.
Once cool, remove the granola from the pan using the parchment paper handles. Place on a cutting board and cut into 8 standard size granola bars or 16 bite size snacks.
Store in an airtight container for up to 2 weeks with wax paper in between layers.
To freeze, wrap each bar in plastic wrap or wax paper and insert in a resealable plastic bag labeled with ingredients and date. Will keep for up to 3 months in the freezer.
Recipe Notes
If you don’t have parchment paper you can oil the pan, but it’s a little more difficult to remove the granola and breaks more. Use the parchment paper if you have it.
I like to double the recipe, use a standard baking tray and then freeze the granola bars so I have them handy when we want to eat them.
I’ve never tried making granola bars before. What difference. I used your suggestion to store in the freezer and it worked great.
Glad you like them.