This elegant breakfast of baked eggs in ham cups is easier to make than a standard fried egg and less hands-on time too! It’s not only pretty but makes a great grab and go breakfast too.
I first saw this idea in Gourmet Magazine years ago. In fact I thought about 10 years ago but when I looked it up on the internet the date was 2002! I didn’t realize I’d been making these baked eggs in ham cups for so long. It’s a recipe that stands the test of time and can be varied as much as your choice of omelets.
How To Make Baked Eggs In Ham Cups
You just line a muffin tin with deli ham, crack an egg into it and bake for 15 minutes. It’s really that simple. OK, maybe just a few more steps, but not many.
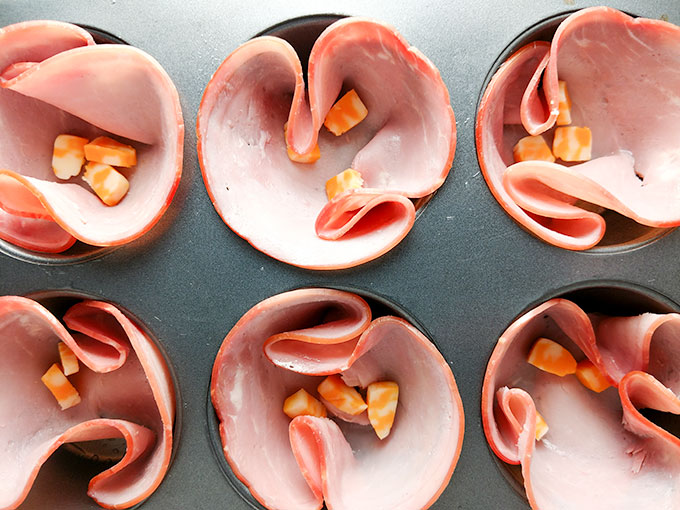
So this picture is a little skimpy on the cheese, go ahead and double that amount, I don’t know what I was thinking?!
The beauty of this recipe is that it takes about 5 minutes hands-on time and then 15 minutes cooking time. What could be easier?
Brush the muffin tin (even if non stick) with oil or spray, line with pieces of deli ham, sprinkle some cheese in the ham cups.
A new optional step that I have added keeps the yolk runnier. Crack the eggs allowing the egg white to drop into the ham cup while keeping all of the egg yolks in a bowl. Be gentle to keep the yolks from breaking. Sprinkle with salt and pepper.
The goal is to keep the yolks from breaking so that they look like the pictures in this post. But don’t fret if they do break, the egg cups take on a new different look that’s just as pretty. The broken yolks will take a few minutes less to cook than the whole yolks.
Sprinkle with kosher salt and pepper.
This step is so that the egg white cooks through and the egg yolk stays a little runny. If that’s not important to you then go ahead and crack the whole egg directly into the ham cups.
Bake the ham, cheese and egg whites for 8 minutes, then remove from the oven and gently add the reserved egg yolks with a spoon to the ham cups. Return to the oven for 8 more minutes or until the egg whites are set and the yolk set.
The more you make these baked eggs in ham cups the more you’ll learn just how your oven works and how long you want to cook them. Don’t wait for guests to try this out. Since they are so easy you can make just one for yourself!
How To Make Baked Eggs In Ham Cups Portable On-The-Go Breakfast
These portable little gems are perfect for an on the go breakfast. You will want to bake the ham cups for a few additional minutes, about 3-5 to set the yolk more so it doesn’t drizzle down your arm.
If I’m serving these for breakfast immediately, I’ll stick to the 15 minutes so that you have a slightly runny yolk, that’s just the way I prefer eggs. But as a grab and go breakfast, you’ll want the yolk cooked through, so you don’t have sticky, runny yellow goo flowing down your hand and onto your clothes. No fun.
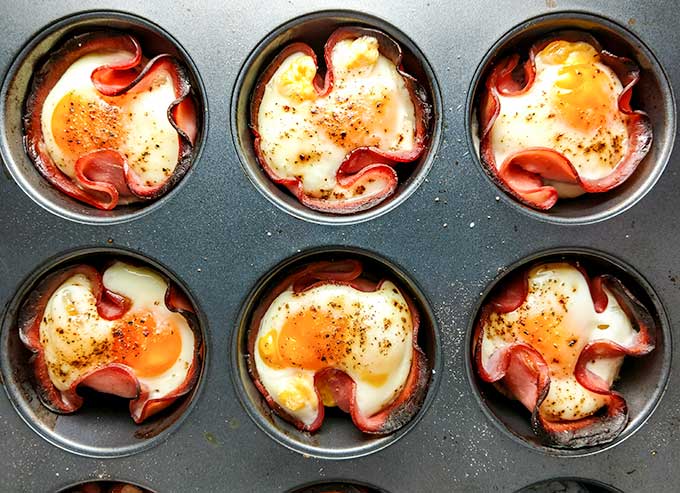
You can also scramble the eggs first and then add to the ham cups. This way the eggs are solid and won’t have the runny yolk. Personally I like the look of the cracked egg, but only if I’m serving it right away.
Additions To The Baked Eggs In Ham Cups
It’s endless. Think about what omelets you like. Is it a classic Western omelet with ham, peppers and onions? Or a Florentine omelet with sautéed spinach and garlic? Or do like the original Gourmet Magazine recipe and add some sautéed mushrooms and shallots. Our baked eggs in ham cups recipe starts with the all-time favorite combination of ham and cheese.
If you don’t have shredded cheese on hand try substituting with cheese sticks. You can thinly slice 3 cheese sticks which is just the right amount to add to the 12 ham cups.
For me, I like to sauté some spinach and garlic in butter and put the vegetable mixture in the bottom of the ham cup covered with the egg, then top off with a sliced cherry tomato.
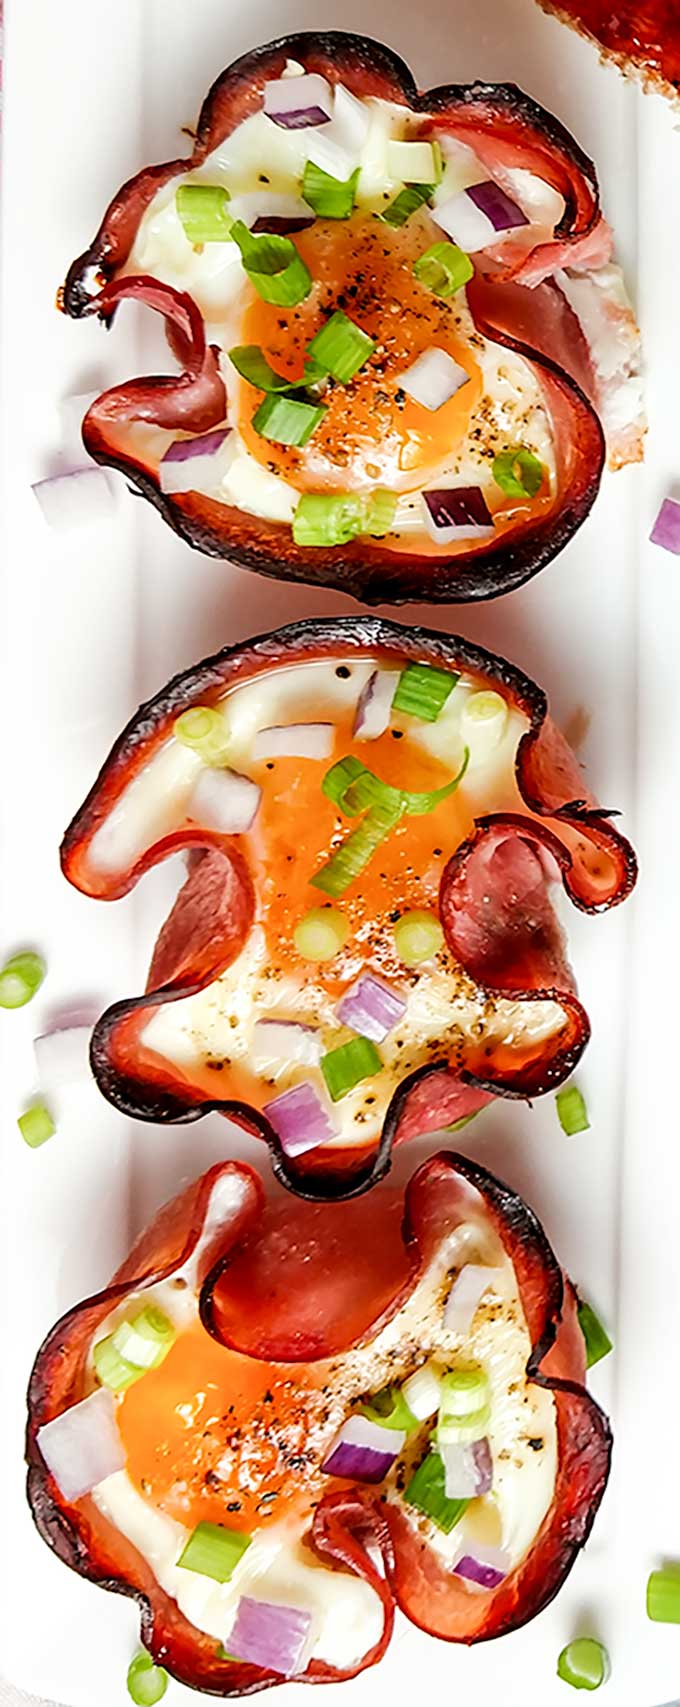
I find for a crowd sticking with the basic ham and cheese is most favored. You can put the baked eggs in ham cups in a warmer, such as a chafing dish. I used to wonder who owned a chafing dish and why? How often would you use it? Well once you have family and friends start visiting and staying the night, you’ll realize just how often you’ll pull that chafing dish out and how much of a help it is. I have a stainless steel chafing dish set like this one. If you don’t want to store it, then buy the disposable chafing dish sets and just toss once your guests are gone.
Ideally you will serve the baked eggs in ham cups right away. But if that’s not the plan, then add the baked eggs to chafing dish or just plate and cover with foil. You just don’t want them to overcook.
Toppings For Baked Eggs In Ham Cups
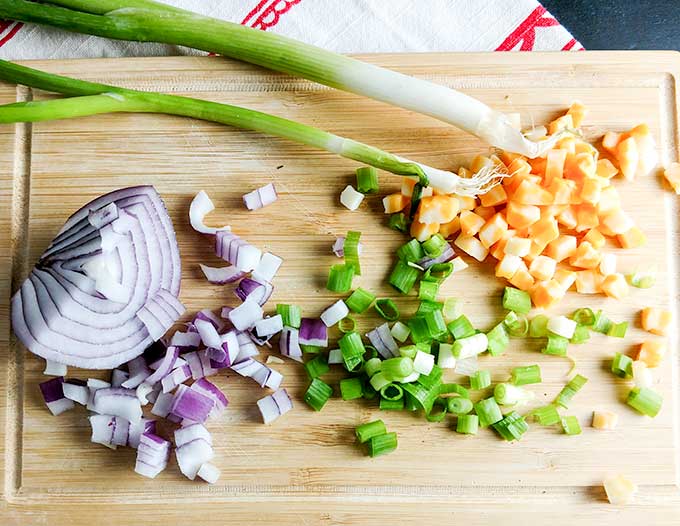
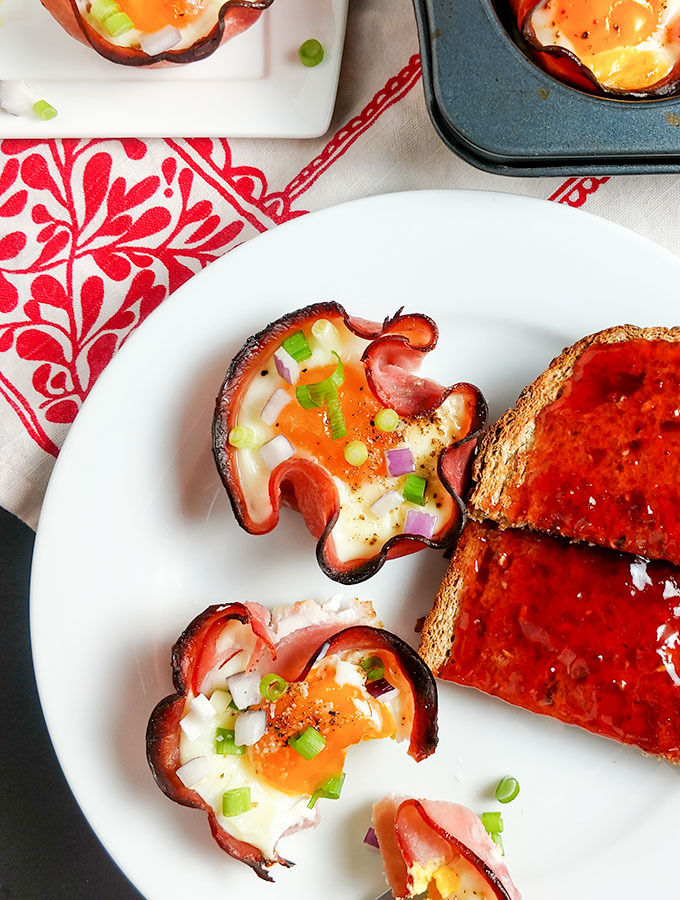
Color adds a lot of appeal to the dish. So think sliced green onion, cherry tomatoes or red onion. These toppings also add a little more to the taste.
How To Clean The Muffin Tin
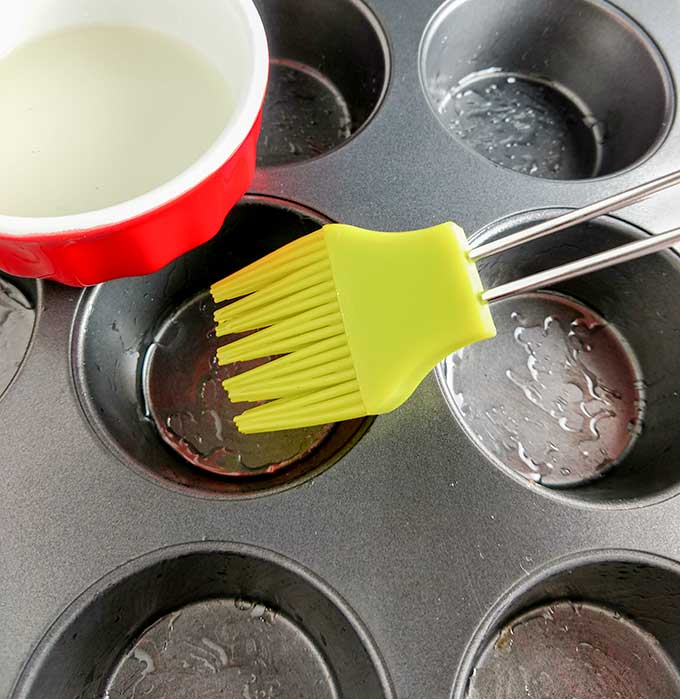
You will most likely get some egg seeping under the ham cups and sticking to the muffin tin, this is why you want to brush the tin with oil first. Once you remove the baked eggs in ham cups, fill the muffin tin with hot or boiling water and let sit while you eat. Then use a rubber spatula to scrape the baked egg out of the tin. The rubber won’t hurt the pan and is flexible enough to get into the bottom corners of the muffin tin. Then you can wipe out with your sponge or a paper towel.
What to serve with Baked Eggs In Ham Cups
Serve with cheese grits, toast with jelly, biscuit or fresh fruit.
 bake
bake

Baked Eggs In Ham Cups
Easy, elegant breakfast with only 5 minutes hands on time. Baked eggs in ham cups takes the traditional egg, ham and cheese breakfast and turns it on it's head!
Ingredients
- 12 Slices Deli Ham Black Forest or Virginia
- 12 Large Eggs
- 1 Cup Shredded cheese cheddar, swiss or gruyere are good choices
- 1/2 teaspoon Kosher salt
- 1/4 teaspoon Black pepper
Instructions
-
Preheat oven to 400 degrees.
-
Lightly brush muffin cups with oil or spray. This is important even in a nonstick pan because some of the egg inevitably will seep under the ham and may stick.
-
Line the muffin tin with one piece of ham in each cup. The ham will stick up a bit and form a cup shape. It’s easiest to “fold in” the opposite ends of the ham and then push back against the tin. Drop about a tablespoon of shredded cheese in the ham cup. If you put more cheese then you should use medium size eggs instead of large, otherwise the egg will spill over the ham edges.
-
Optional: Crack an egg and pass it between the two egg shells so that the egg white falls into one of the ham cups and the yolk can gently be placed in a bowl. Repeat putting all of the egg yolks into one bowl.
Sprinkle with kosher salt and pepper.
This step is so that the egg white cooks through and the egg yolk stays a little runny. If that's not important to you then go ahead and crack the whole egg directly into the ham cups.
-
Pop the muffin tin into the oven and cook for 8 minutes (if you cracked the egg whites and yolk all at once then cook for 15 minutes). Remove from the oven and gently place an egg yolk with a spoon into the ham cups. Cook for another 8 minutes.
The goal is to keep whole yolks for appearance sake, but don't fret if a yolk breaks. It's pretty in a different way.
-
Bake until the whites are cooked and the yolks set. 15 total minutes is perfect for a slightly runny yolk. If you want the yolk cooked through, then bake 3 more minutes.
-
Remove ham cups with a rubber spatula in one hand and pull the ham with the other hand, gently remove and place on serving platter. Top with sliced green or red onions, or both.
Recipe Notes
If making as an on the go breakfast then make sure that the yolk is cooked through. Or whip the eggs first and then add to the ham cups.
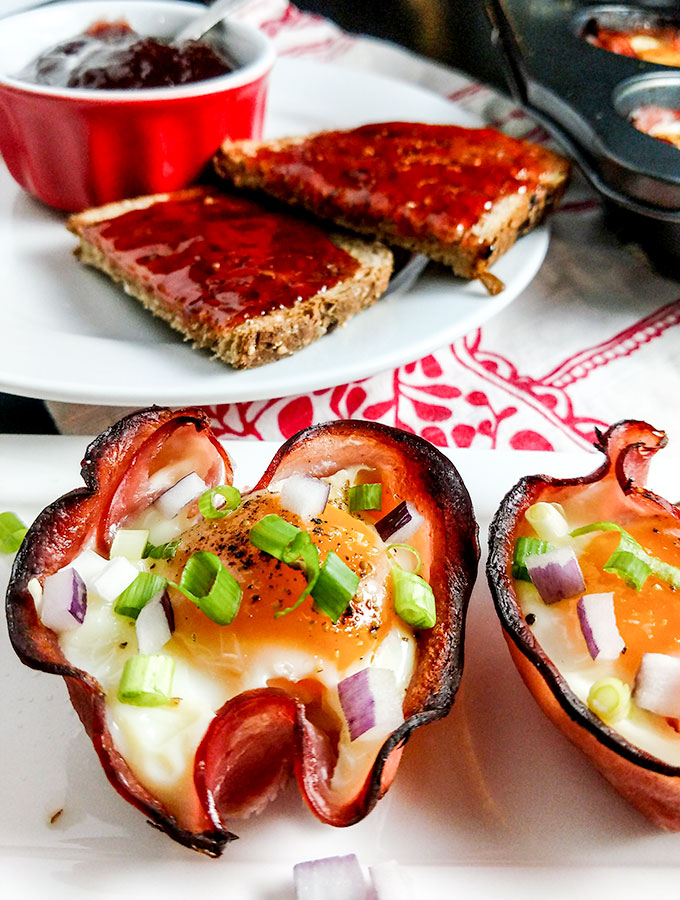
Incredibly easy and incredibly delicious!
They are elegant, aren’t they. Thanks for the feedback.